- Click on the Paramters tab and click Add
- Set name to Id, Type to Integer, and Required to Yes

- Click on Settings
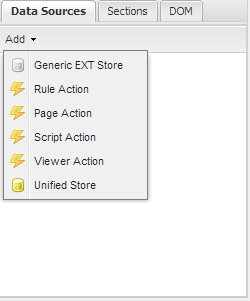
- Click on the Resources tab and click Add
- Set Name to NavLib, type to Ready and Uri to res://tenant/versions/Examples/Examples_1.0_1/SimpleNavigationLib_50.js
- Click Save and click Save again in the Configuration window

- Click on Settings
- Set the Data Source to Client
- Check the Detail and Modify checkboxes
- In the Detail tab click Properties
- To Before Load add: showMyLoadingMask('Loading...');
- To Load add: hideMyLoadingMask();
- Check Auto Load

- Click Save
- Find the Id attribute and set its Value to Id

- In the Modify tab click Properties
- Into Successadd:
EcxPageNav.Util.executeParentCallback();
EcxPageNav.Util.closeMe(); 
- Click Save
- Find the Id attribute and set its Value to Id
- Add a button called Save with Icon Disk
- Set the listener to Save and Fn to PageManager.ruleAction_execute_storeUpdate_Modify