We will be adding detail viewer functionality to the Client Search page.
Step 1 - Create a Simple Client Detail Page
- Click on Presentation and then Pages.
- Click New Page

- From Categories, select General and from Templates select Blank; name the page Client Details; click Save.
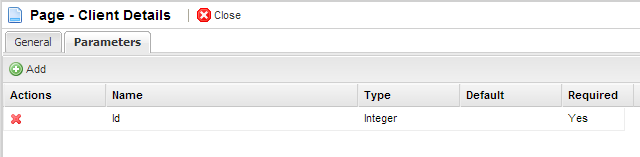
- On save you will be redirected to the detail page of the New Client page, from here click on the Parameters tab
- Add a new parameter, name Id, type Integer, and set Required to Yes
- Go to the General tab and launch the Page Builder by clicking on Page Builder

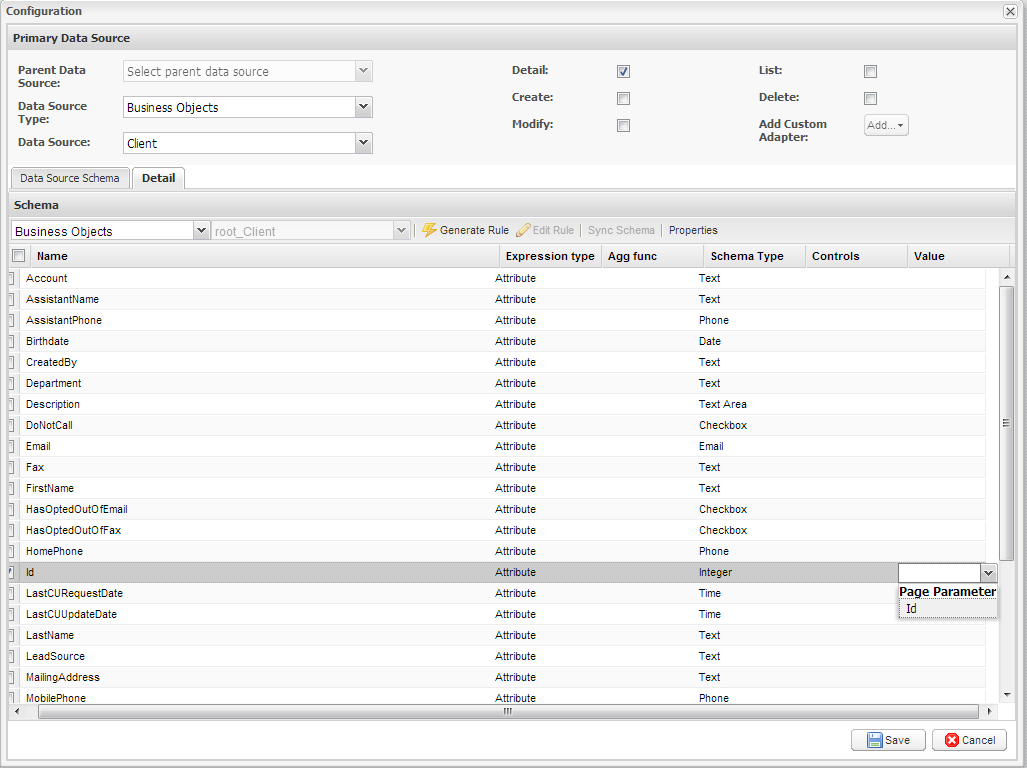
- Add a Unified Store called storeClients and open its Configuration window
- Data Source Type will be Business Object and Data Source will be Client
- Check the Details checkbox
- Click on the Details tab
- Find the Id parameter and double click on its Value column
- Select Id as the page parameter
- Click on Properties and check the Auto Load checkbox
- Click Save, and Save again in the Configuration window
- In the Sections tab in the Page Builder, make sure pnMain is selected
- Find Layout in Properties and change it from fit to form
- Add panels as in previous examples, but stop before adding text areas
- Instead of adding textareas from the Toolbox panel, click on storeClients in the Data Sources tab
- In Toolbox find FirstName and drag it into pnLeft1
- Change its Control Type from TextField to Label
- Delete FirstName from the Text row
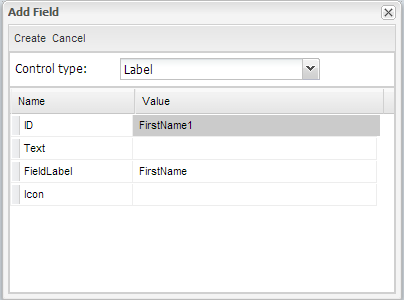
- Click Create
- Add the remaining Client attributes in this manner: Last Name, Email, Mobile Phone, Mailing Address, Department, Office Phone, Title, Reports To, and Description
- In Preview, your page should look like this
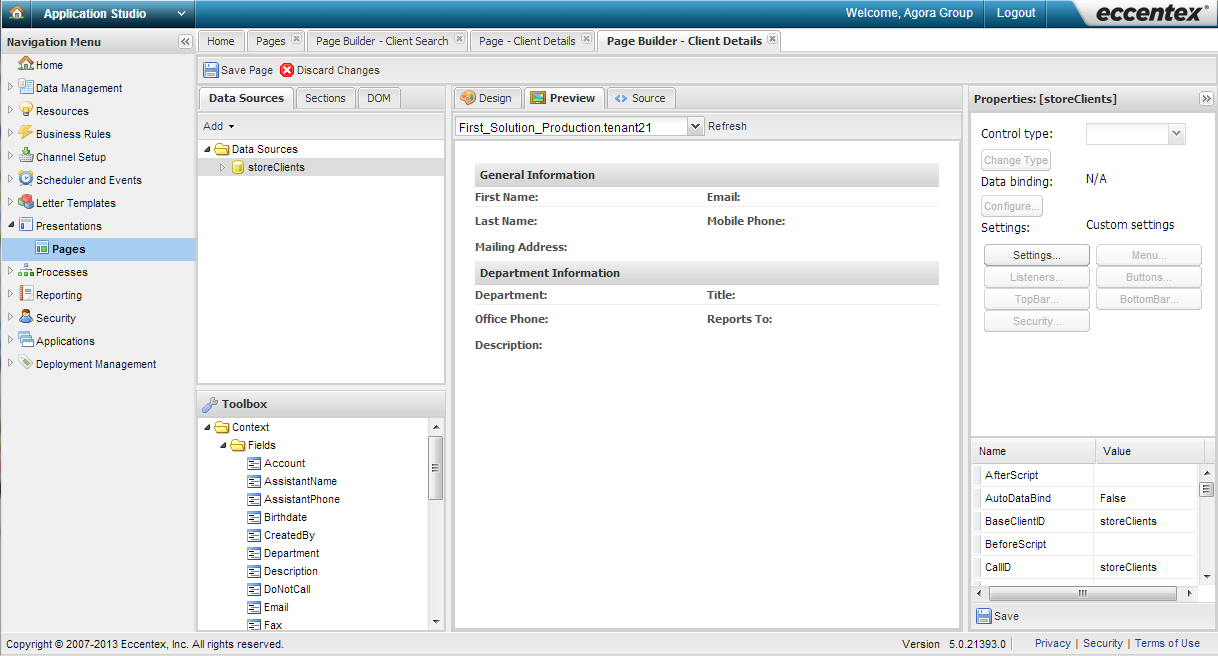
- Click on Save Page at the top left of the screen, and click Ok to the Page Was Saved notification
